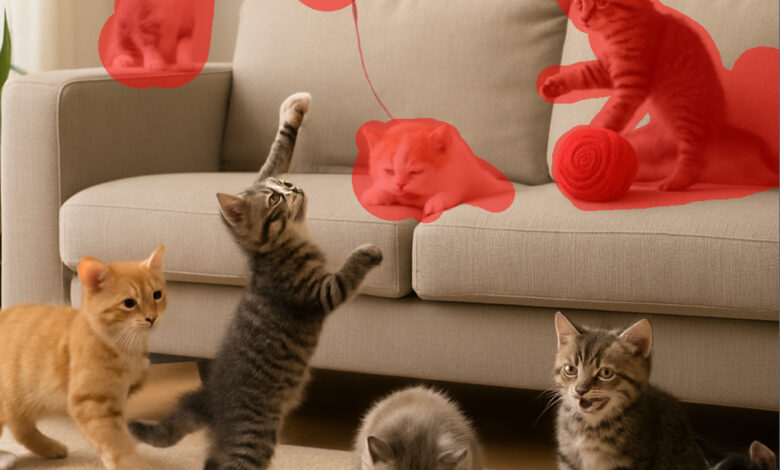
You want to replace a lamp in a room photograph. The new lamp looks convincing, but the picture frame beside it has changed and a line in the wallpaper no longer meets. A GPT Image 2 edit mask helps describe the intended edit area; the finished image still needs to be inspected outside that area.
Before generating anything, decide what “unchanged” means for this job. A casual concept image may allow small visual differences. An approved product label or a carefully retouched face may need its original pixels preserved. Those requirements lead to different finishing methods.
Define the GPT Image 2 edit mask
Check that the selected GPT Image 2 route actually supports masked editing. Some interfaces expose a brush, some accept a mask file and others offer only general image editing. A feature described for the direct vendor API may be absent from a particular gateway variant.
For a file-based mask, follow the endpoint’s documented dimensions and alpha-channel requirements. In OpenAI’s masking workflow, the transparent part identifies the region intended for editing. A black-and-white picture without the required alpha channel is not interchangeable with that mask merely because it looks clear to a person.
Keep the mask aligned with the source. If the photo is resized or cropped after the mask is made, the selected area may no longer cover the intended object. Save the source and mask as a pair and inspect them together before submission.
Allow for the whole change. Replacing a lamp may involve its shade, stand and cast shadow. Selecting only the bright central object can leave the old shadow behind. At the same time, avoid extending the selection across details that must stay exact. This is an editing decision, not a reason to cover half the room automatically.
Describe the replacement and its surroundings
Write a short instruction that identifies the change and the important constraints. An illustrative brief might ask for a plain ceramic table lamp in the selected area, with the existing viewpoint and light direction preserved. Name the adjacent frame and wallpaper as features to retain.
The prompt and mask should agree. A small mask paired with a request to redesign the whole room creates conflicting expectations. If the goal expands, reconsider the edit boundary before sending another request.
Avoid asking for several unrelated improvements at the same time. Changing the lamp, warming the room and sharpening every surface makes it harder to identify whether the local edit worked. Finish the replacement first. Global colour treatment can be considered separately if it is still needed.
Retain the original file rather than making the first generated edit your only working source. Each revision should have a known parent. Otherwise a small unnoticed change can become the starting point for later work and appear to belong to the photograph all along.
The unchanged area deserves a closer look
Place the result over the original in an editor, align the two and switch visibility. Inspect the boundary of the edited area, then check high-information details elsewhere: lettering, faces, straight edges and small repeating patterns. A visually plausible image can still contain changes you did not request.
A difference view can help reveal changed pixels, although it requires interpretation. Resizing, colour conversion or compression can create broad differences that are not a redesigned object. Compare files under consistent conditions before concluding that every visible difference came from the generation itself.
Look closely at contact points. The lamp should sit on the table, and its shadow should agree with the room. Check whether an edge has a halo or whether the replacement seems pasted over the background. A clean center does not compensate for a distracting seam.
If you try the same edit with Nano Banana Pro, compare the same preserved details. Use its documented editing controls rather than assuming it accepts the same mask representation. A second model is another candidate output, not confirmation that the original pixels were retained.
Finish the edit in a file you control
When exact preservation matters, consider compositing the accepted replacement into the untouched original. Keep the generated layer separate and reveal only the area you intend to use, with a carefully reviewed edge. This gives you direct control over which original pixels remain in the delivered image.
Compositing is not an automatic cure for poor generation. A replacement with the wrong perspective or lighting may still need to be rejected. The technique is useful when the generated element is sound and the surrounding photograph must remain intact.
Review the composite at its actual delivery size. Small edge flaws can disappear in a thumbnail and become obvious in a large layout. Conversely, extreme magnification can encourage unnecessary repair that damages an otherwise clean edge. Use both a close inspection and the intended viewing scale.
Save a layered master with the original, mask and chosen replacement. Export a separate delivery copy in the required format. If someone later asks to reduce the change, a layered file is easier to revise than a flattened image with no record of the boundary.
The useful promise of a GPT Image 2 edit mask is a clearer, more controlled editing request. For work that must retain exact detail, the approval step belongs in the image file itself: compare, isolate the accepted change and preserve the original where the job requires it.